- Go to the Hyper-V Manager and create a New Virtual Machine and Specify its Name and Location as shown in below Screen shot.


- Choose the Generation of Virtual Machine. There are two options remember that Generation 2 is for Newer 64 bit OS and have UEFI based firmware.

- Assign Appropriate memory and configure the Networking. For More details on Hyper-V Networking i will update in another post. Now configured with default switch as below.


- Now create a Virtual Hard Disk for NAS Server as you have 3 options. Here i created a virtual hard disk with size 30 G.B and Install OS with ISO images as shown in follow screenshot.


- Click on finished and Start the virtual machine as you just created and Select option 1 for installation as shown in following screen shot.


- If You configured NAS with less than 8 G.B of RAM its gives warning. Don't worry on this click on continue and select the disk where you want to install your NAS. In my case i have only one disk.


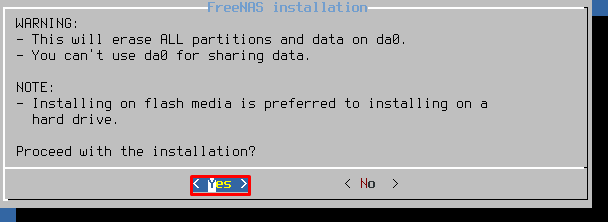
- Again it gives the warning as that disk erase all the partitions and data. Click on Proceed= yes and give the appropriate root password and select boot option I have selected boot via UEFI .


- Booting is started now as you can see the screen shot as below. When the Installation is succeeded please reboot and remove the installation media otherwise your installation again starts with DVD.


- Congrats NAS installation is completed as you can see one DHCP IP Address for web user interface as shown below.


- Now go to your Browser and try to access the ip and apply correct user name and Password that you provided during installation previously. You can see the NAS GUI console as below.


Is this Post Helpful? If you faced any problem during installation please feel free to comment me back.
Jan 7, 2019
NAS Installation in Hyper-V 10 Steps
Please follow the below steps for Installation of NAS.


Subscribe to:
Post Comments (Atom)

Popular Posts
-
As all of you guys are well known about DNS and its working mechanism. If not, DNS stands for Domain Name System and just imagine it’s a hug...
-
 Main Cause The .NET Framework is not installed or corrupted. Solutions Method 1 (Recommended) Install .net framework usin...
 -
 First properly configure your DVR/NVR through IP address then open your Internet Explorer and open the URL with a IP address that you provid...
No comments:
Post a Comment